
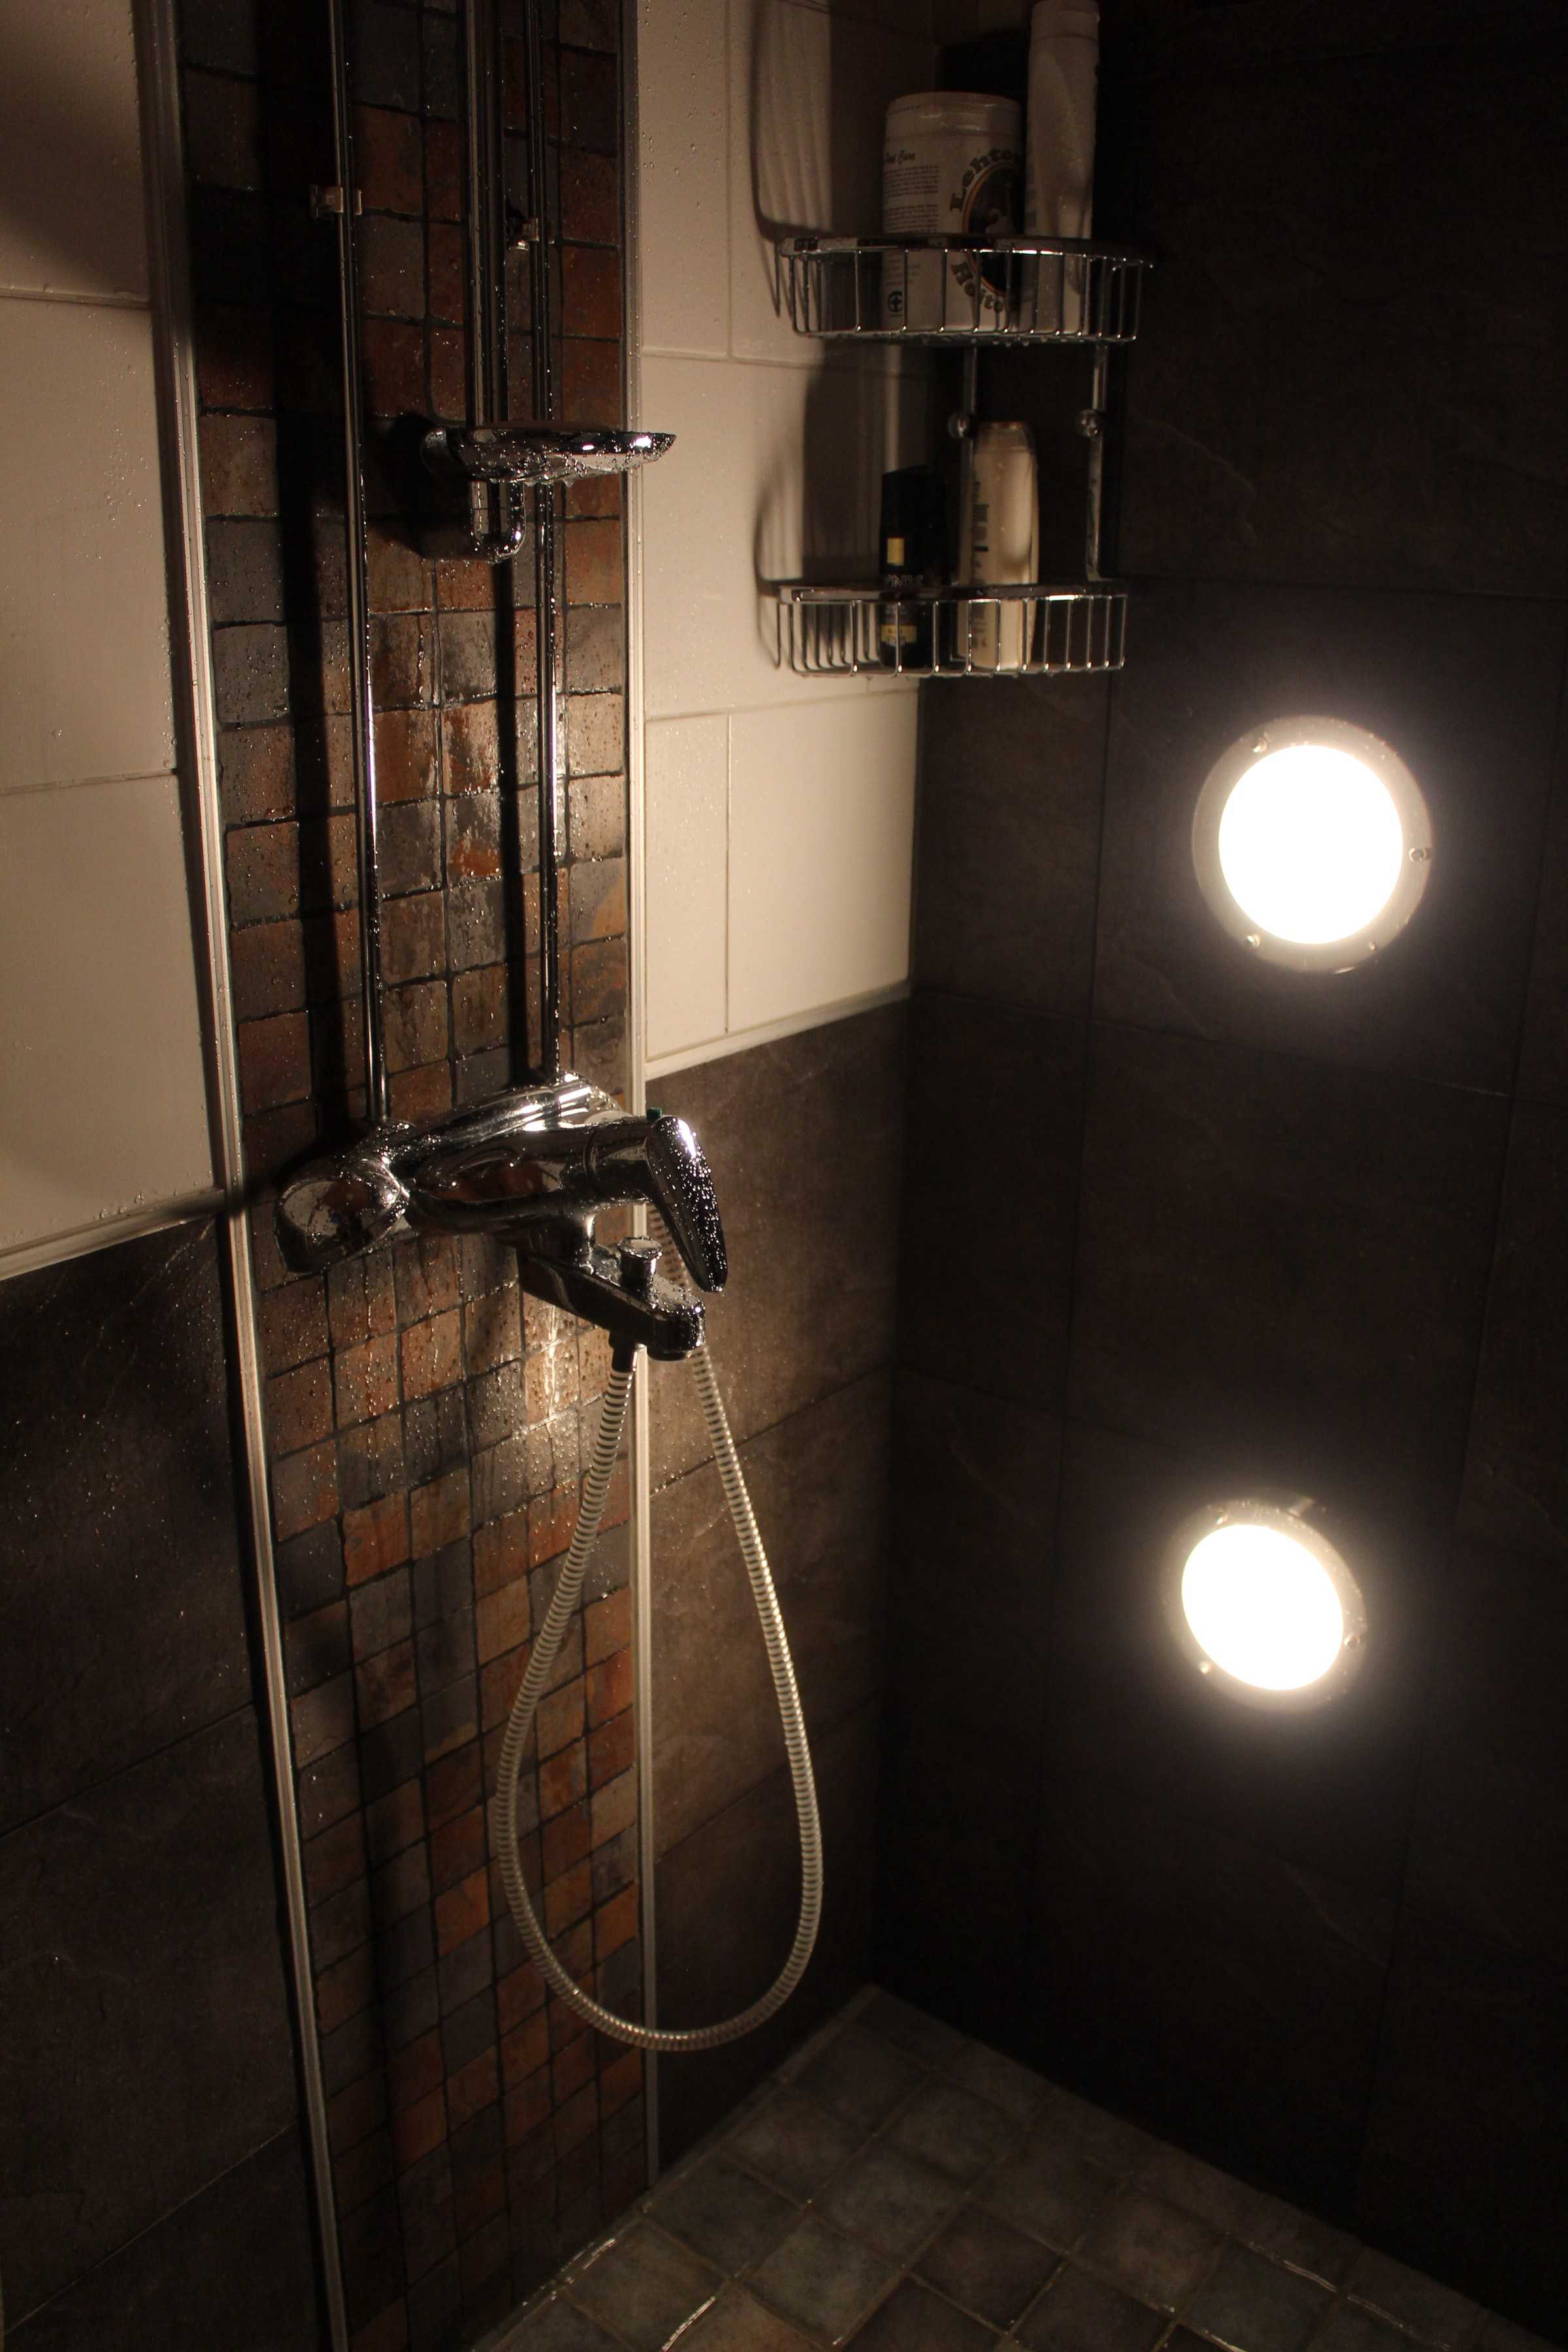
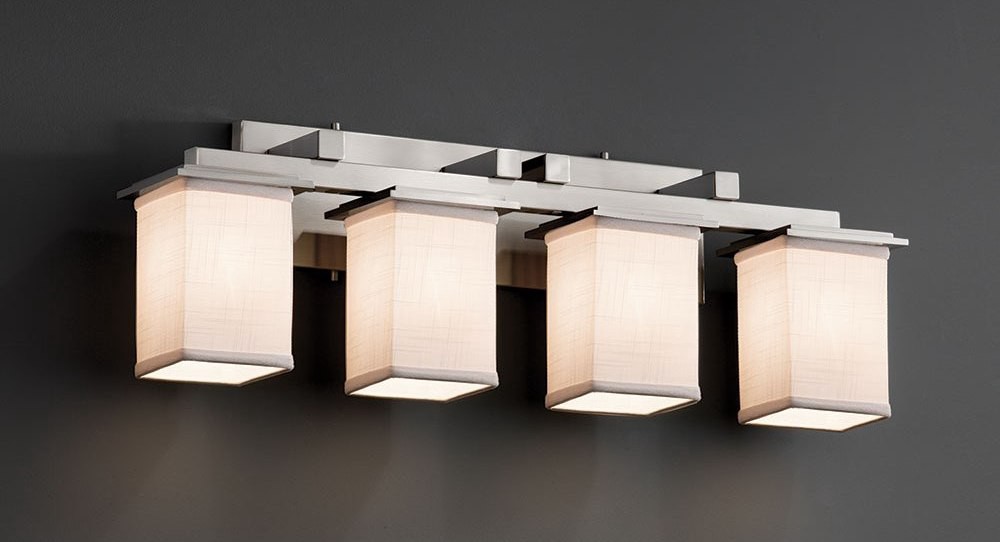
Bathroom light fixtures are just one of the many ways that can help you beautify your bathroom but many a time, there are cases when it needs to be replaced due to a faulty wiring structure or even to replace an older unit.
Today we have a look at how to replace a bathroom light fixture and the kind of materials that are required to install a new bathroom light fixture.
Required material and tools:
- Screwdrivers
- Non-contact voltage detector
- A drill
- Junction box and a base plate
- Wire nuts
- New fixture
Replacing a bathroom light fixture is not a difficult task but one must be aware of certain steps that are required to be followed in order to do a solid job. Let’s have a look at what these steps are:
Step 1:

The first thing to do is to remove the bulbs and fixtures that are currently in place in the bathroom. Replacing bulbs is an easy job but when it comes to removing the fixtures, you need to be a bit careful. Once all the bulbs are removed safely, checking all the wires for voltage with the voltage detector is the next thing to do. If everything seems safe, remove all the nuts one by one and take out the fixture from the wall.
Step 2:
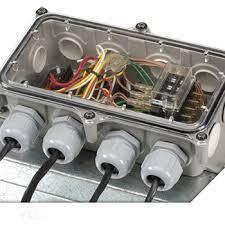
Once the old fixture is removed, you need to check if there is a junction box present inside the wall. One thing that is common with old houses is the absence of a junction box. A benefit of this replacement job is that you can install a junction box that provides additional electrical safety. Use a drill to mount the new junction box inside the wall and once it is attached firmly install the wiring for the new fixture.
Step 3:
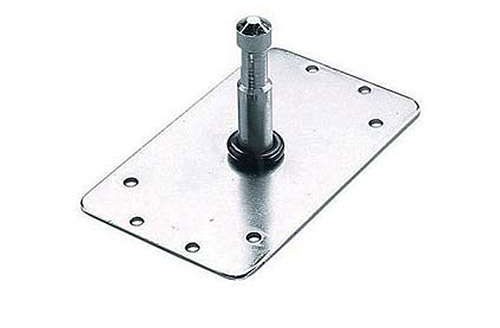
After installing the junction box, the base plate for the new lights will need to be fixed. The base plate has holes in it for the wiring to pass through. Once the base plate is installed on the junction box, the circuit wires can be run through and placed depending on the style of the new lights.
Step 4:
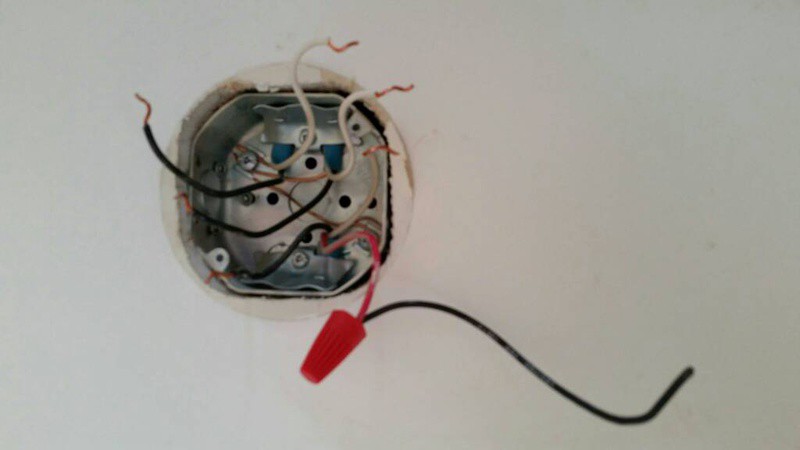
Once the circuit is in place and is properly installed along with the base plate, it is important to connect all the wires to their appropriate connections. The bare copper grounds coming out of the base plate will go on the screw positioned on the base plate. The rest of the wires will be tied to each other and placed neatly inside the junction box.
Step 5:
With the wiring in place and the junction box fixed, the next step involves mounting the new fixture on to the wall. While mounting the new fixture, it is important to be careful of any loose wiring coming out of the base. In order to mount the fixture, the new nuts need to be attached to the holes reserved in the base for the fixture.
With the fixture in place, the new bulbs can be fitted in depending on the style of the fixture. After carefully attaching all the bulbs on the fixture, switch it on and you’ll find yourself with a neatly done and awesome looking brand new light fixture in your bathroom.
These are the steps that need to be followed in order to replace a light fixture in your bathroom. We hope this guide helps you redecorate your bathroom.