

Baseboards not only beautify your rooms but they can also prove to be very useful. They are not purely aesthetic for they also protect the bottom of the drywall from being damaged, they function as a barrier against dirt and they also keep the bottom of the drywall paint from being damaged and tarnished. If your house has drywall, it is absolutely beneficial and necessary to invest in baseboards.
Baseboards seamlessly create a transition between the floor and the wall and provide a modern touch to your interiors. A baseboard R&R job requires some tools and materials. Let’s have a look at what these are:
Materials:
- Safety Glasses and Ear Plugs
- Baseboards
- Rags
- Painter’s Tape
- Drop Cloth
- Construction Adhesive
- Latex Caulk
- Wood Scrap
- Semi-Gloss Interior Paint
These materials would be required during the removal and replacement of the old baseboard and installation of the new one in its place.
The tools that are required for the job are:
- Nail Gun and Finish Nails
- Measuring Tape and Pencil
- Compound Saw
- Stud Finder
- Putty Knife
- Hammer
- Stud Finder
- Paintbrush
- Utility Knife
- Pry Bar
Let’s have a look at the steps involved in removing and replacing baseboards:
Step 1:
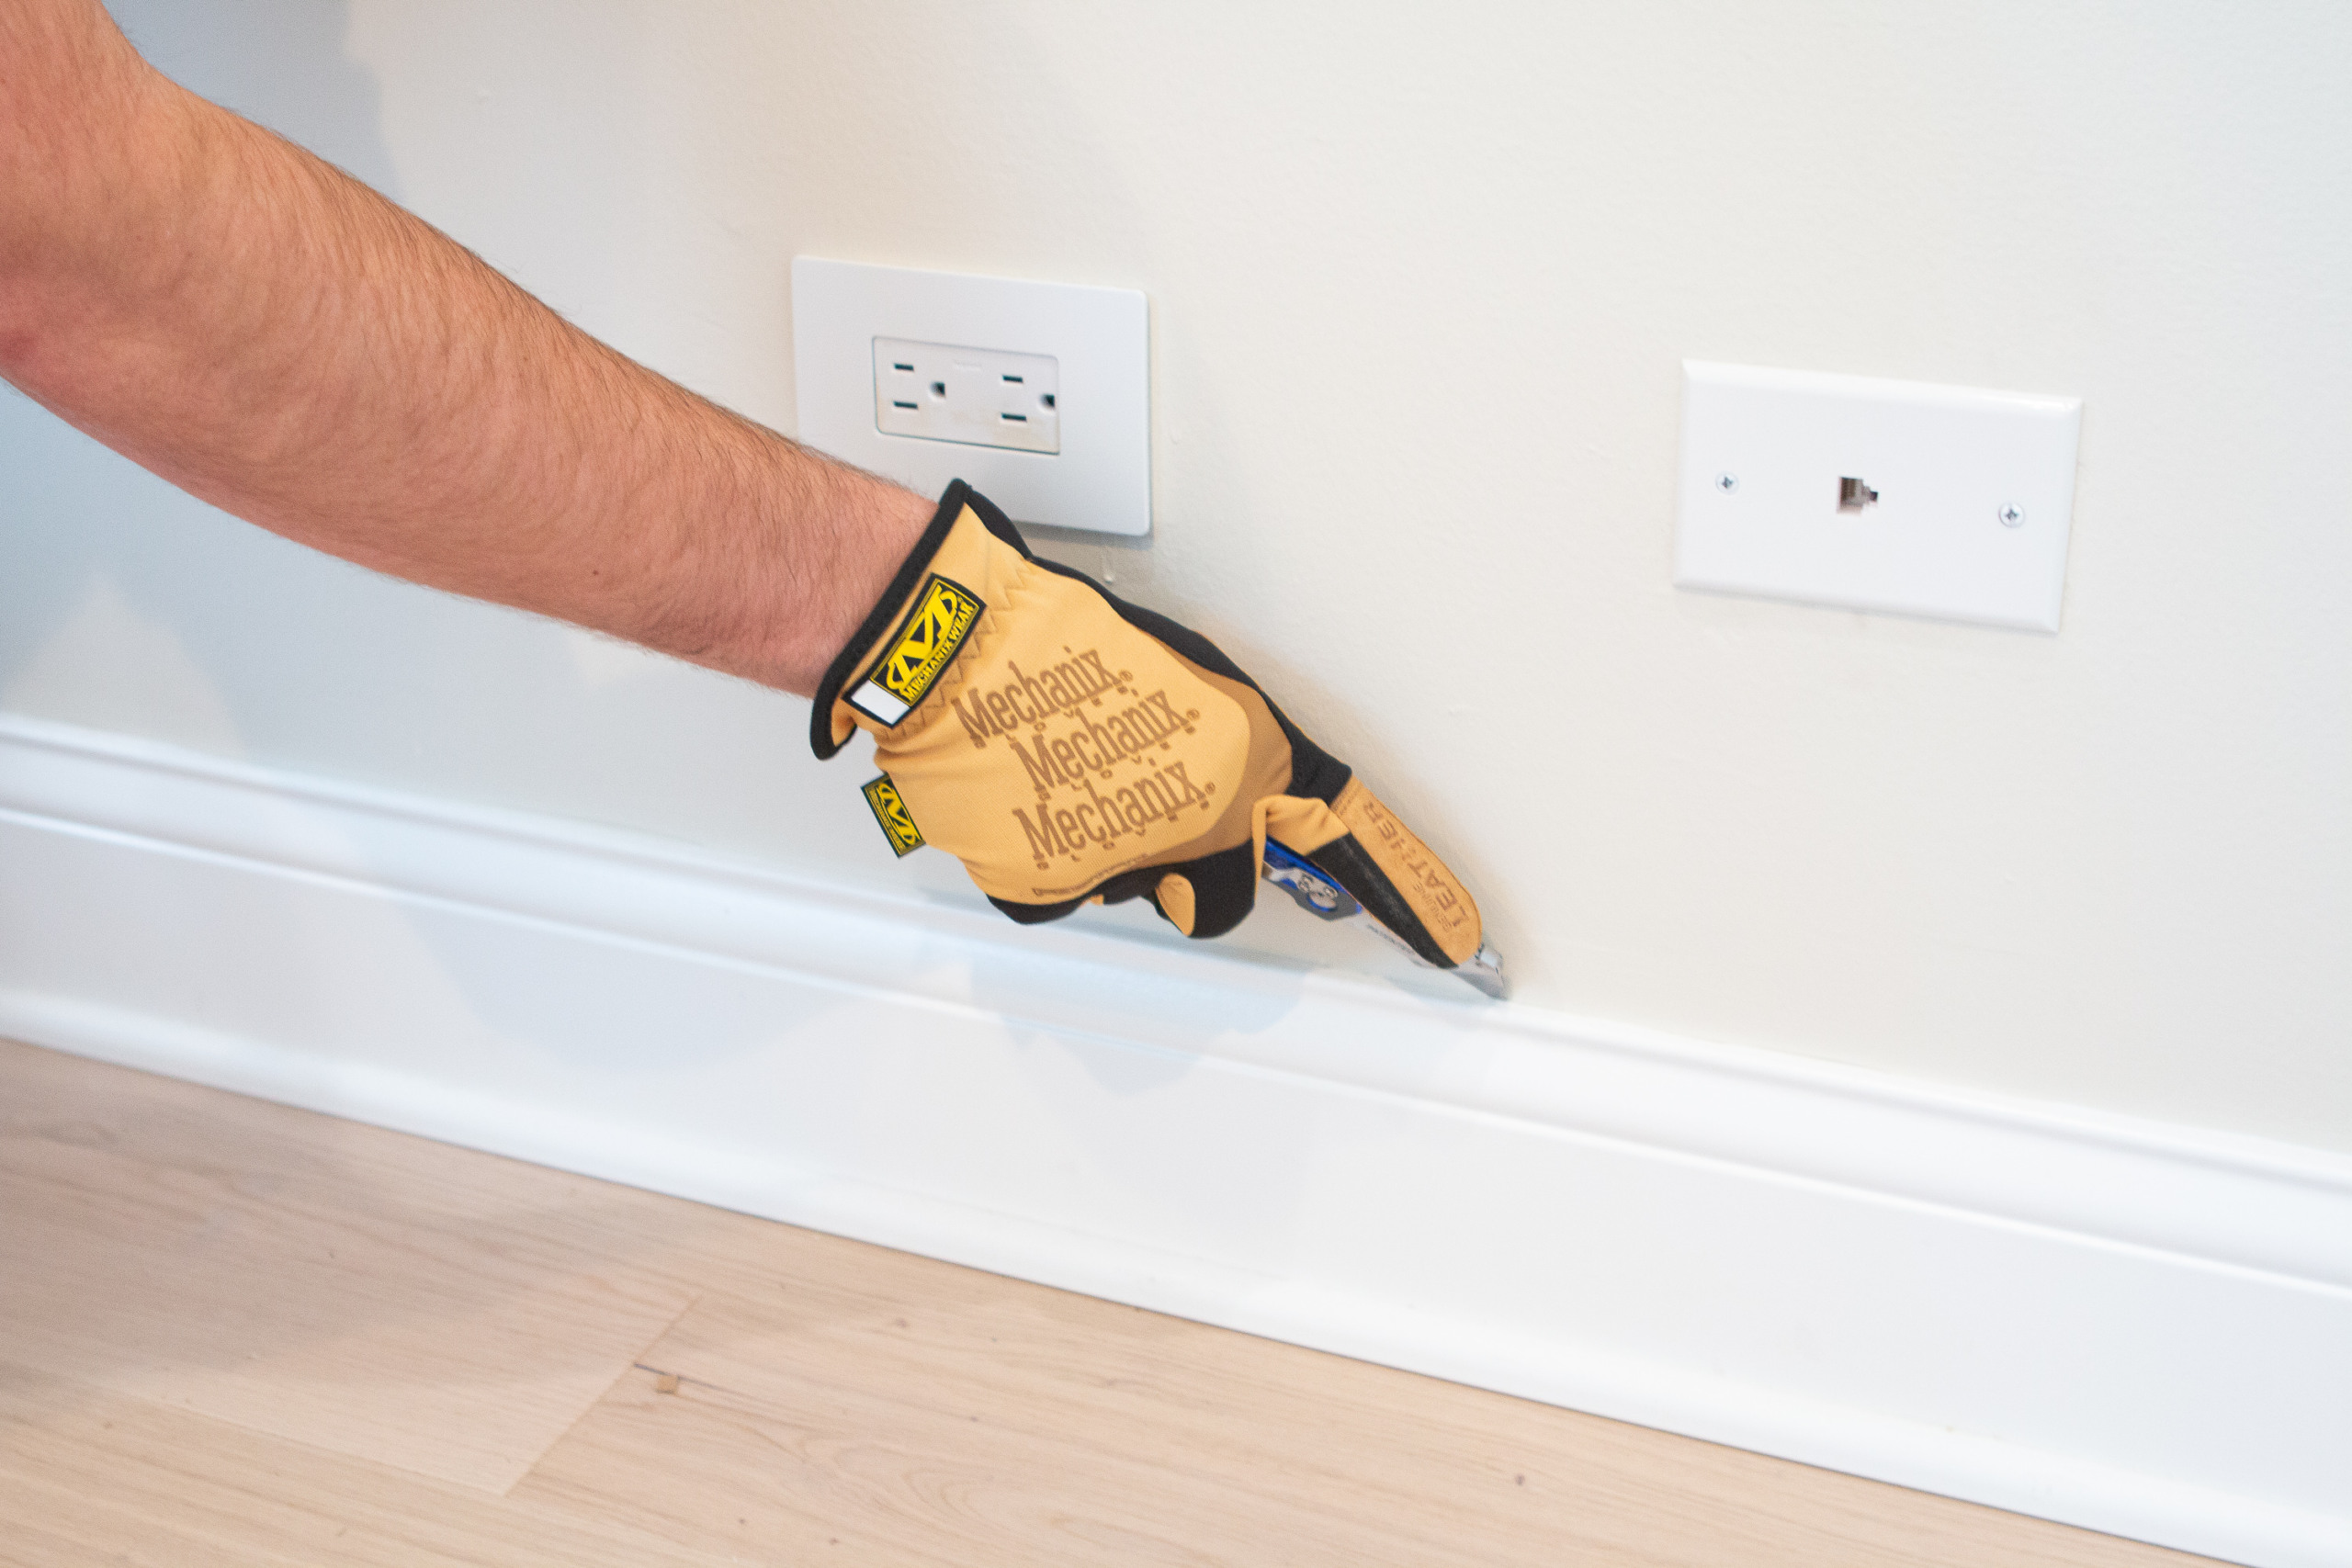
The first step is to take out the old baseboard without damaging the drywall or the floors. Before working on removing the baseboard, cover the floor near the wall with a drop cloth to protect it. Before prying off the baseboard, use a utility knife to cut through the top of the baseboard in order to loosen it a bit. Ensure that you don't just slide the knife across but actually cut through. This will help in avoiding the drywall paper getting ripped out along with the baseboard when it is time to pry it off.
Step 2:
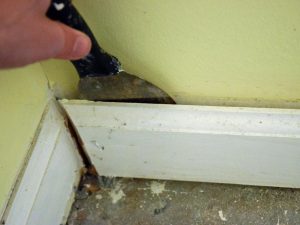
Once the top of the baseboard is detached from the wall, it is time to remove it completely from the wall. For this, you will require a hammer and a putty knife. Hammer the putty knife between the wall and the baseboard and gently pry it off the wall to loosen it further. Don’t try to completely remove the baseboard without loosening it as it could damage the drywall as well as the floor.
Step 3:
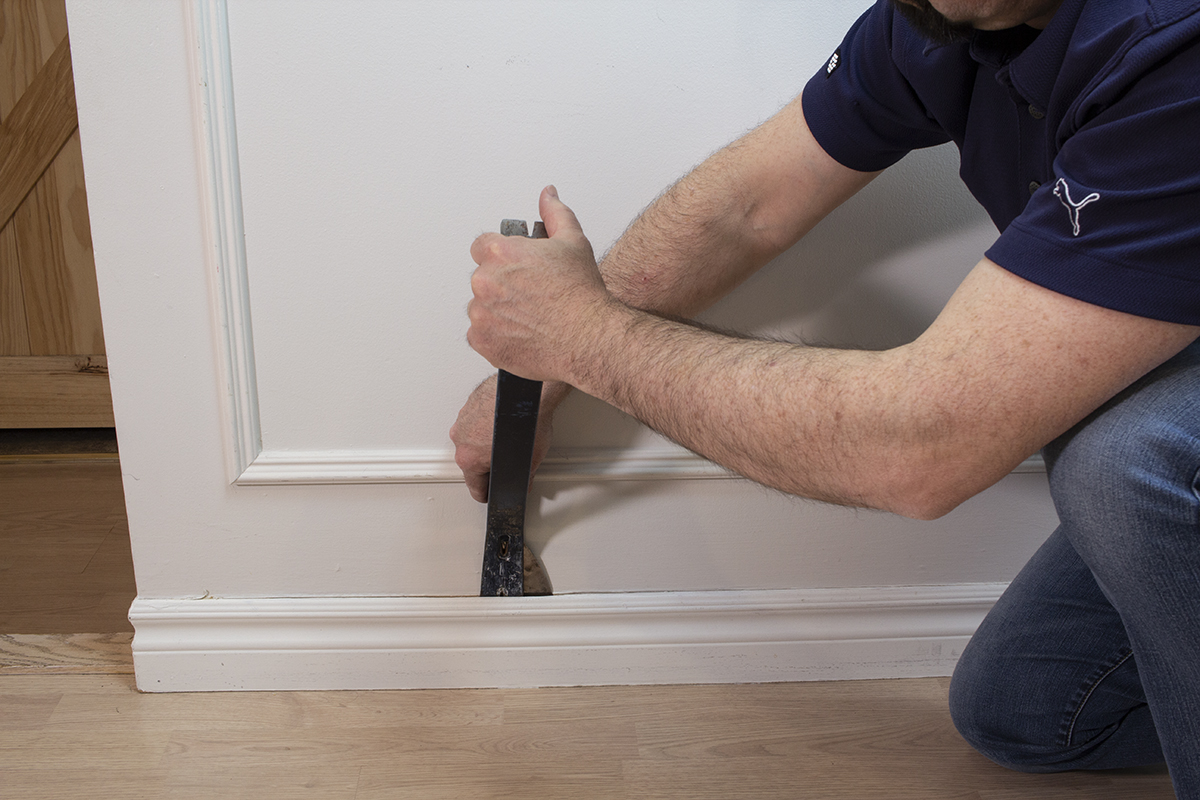
Once the baseboard is loose enough use a pry bar to finish the rest of the job. Make sure you support the pry bar by placing a scrap piece of wood between the pry bar and the wall so that it doesn’t damage the drywall. Remove the nails that fix the baseboard with a hammer and make sure you collect them and place them together safely.
Step 4:
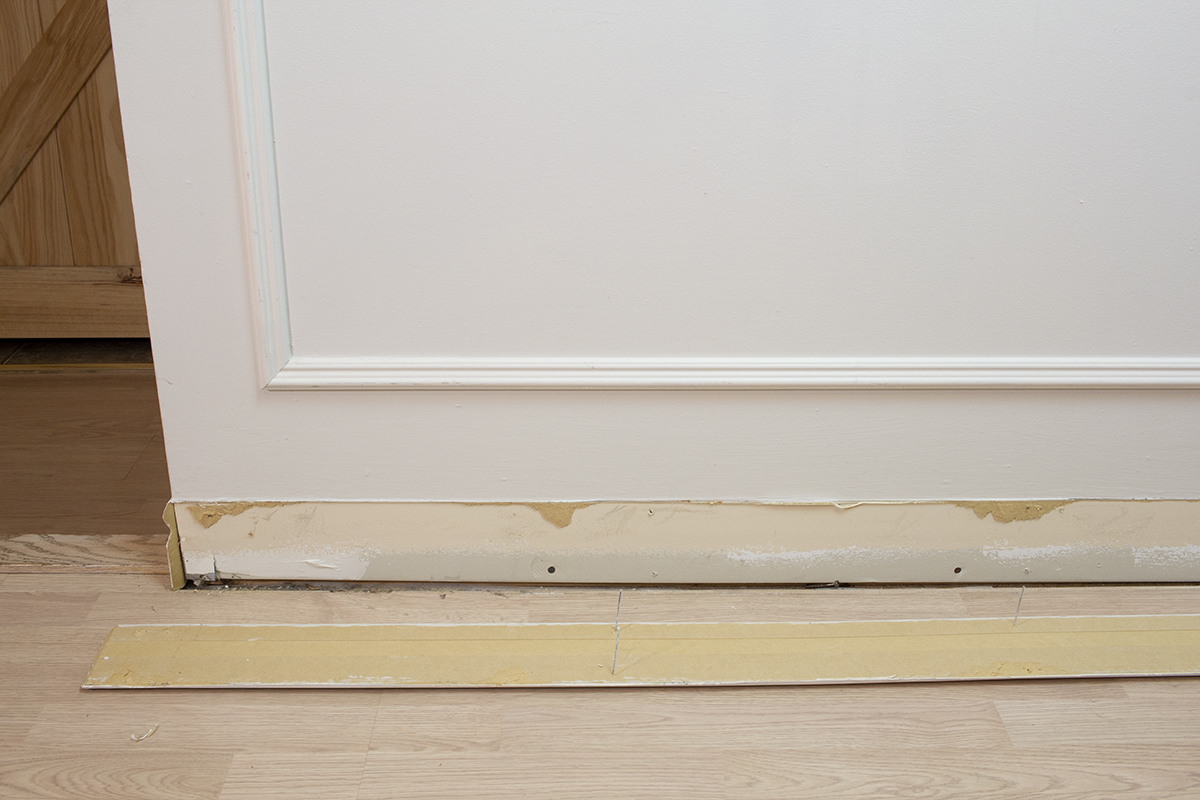
With the old baseboard gone, use a putty knife to scrape off unwanted chunks and pieces that are stuck to the drywall. It is important to have a clean slate to start with when you have to install a new baseboard in the place of the old one. Make sure that the surface of the drywall is even before you begin installing the new baseboard.
Step 5:
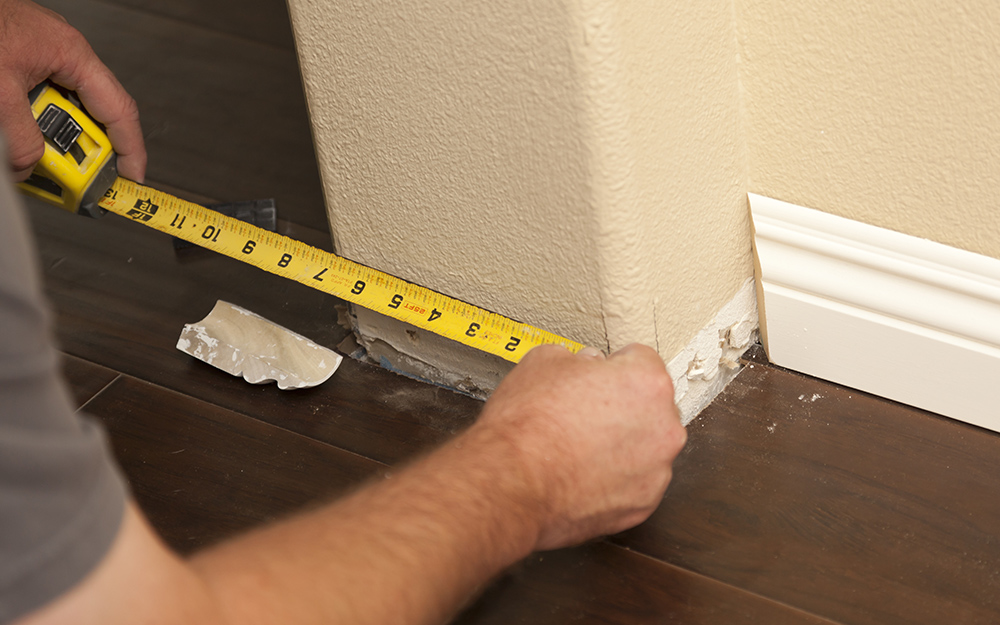
The next step involves taking measurements of the room in order to determine the length and breadth of the baseboard that is required. Another important thing is to make a note of anything that might affect the installation such as HVAC wall vents or power outlets that are placed in lower positions. During this time, you can also use the stud finder to locate the position of the studs inside the drywall. This will make it easier to place the baseboard and nail it to the studs when you are installing it.
Step 6:
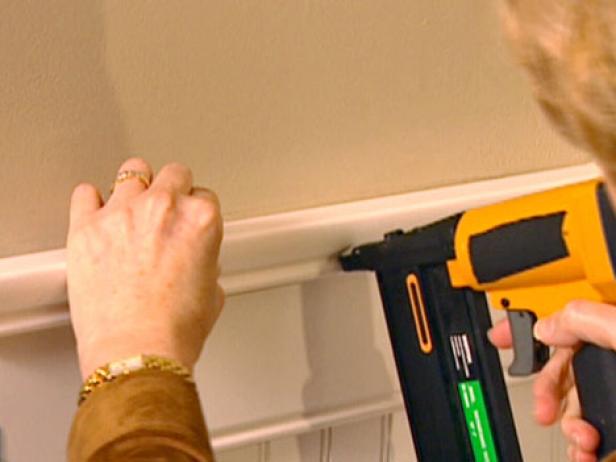
Place the baseboard along the length of the wall and firmly fix its position. Once you’ve determined the right position, use a nailgun to affix the baseboard by starting from the corner and affixing it into the studs on the wall. If you need to join two different baseboards along one wall, make sure you perform an angled cut while joining them so that the space between the two baseboards is eliminated.
Step 7:
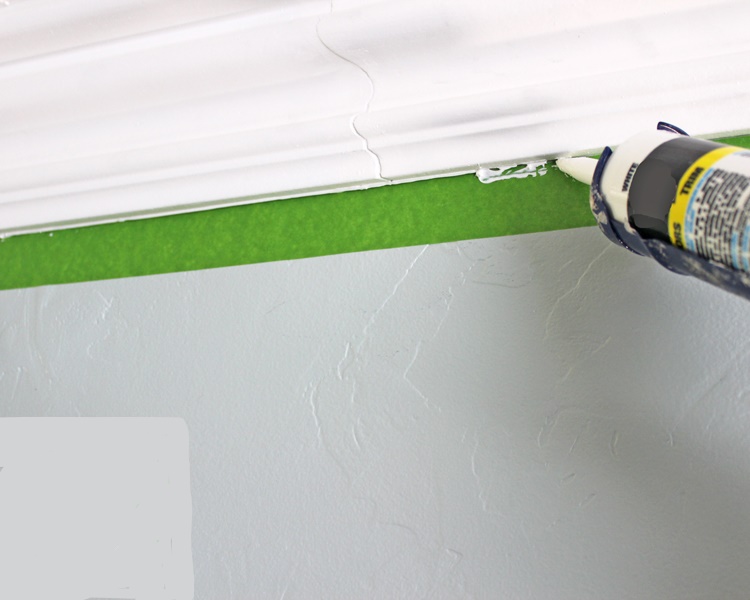
Applying a caulk line on top of the baseboard is important in order to seal the baseboard. This helps prevent molding and also minimizes the risk of the baseboard getting lose. In order to apply a clean and crisp caulk, use a painter’s tape as a guide by taping one on the drywall right on top of the baseboard. After applying the caulk evenly across the baseboard, remove the tape as it will help leave a nice clean trim line. After the process, use a rag to clean up any excess caulk.
Step 8:
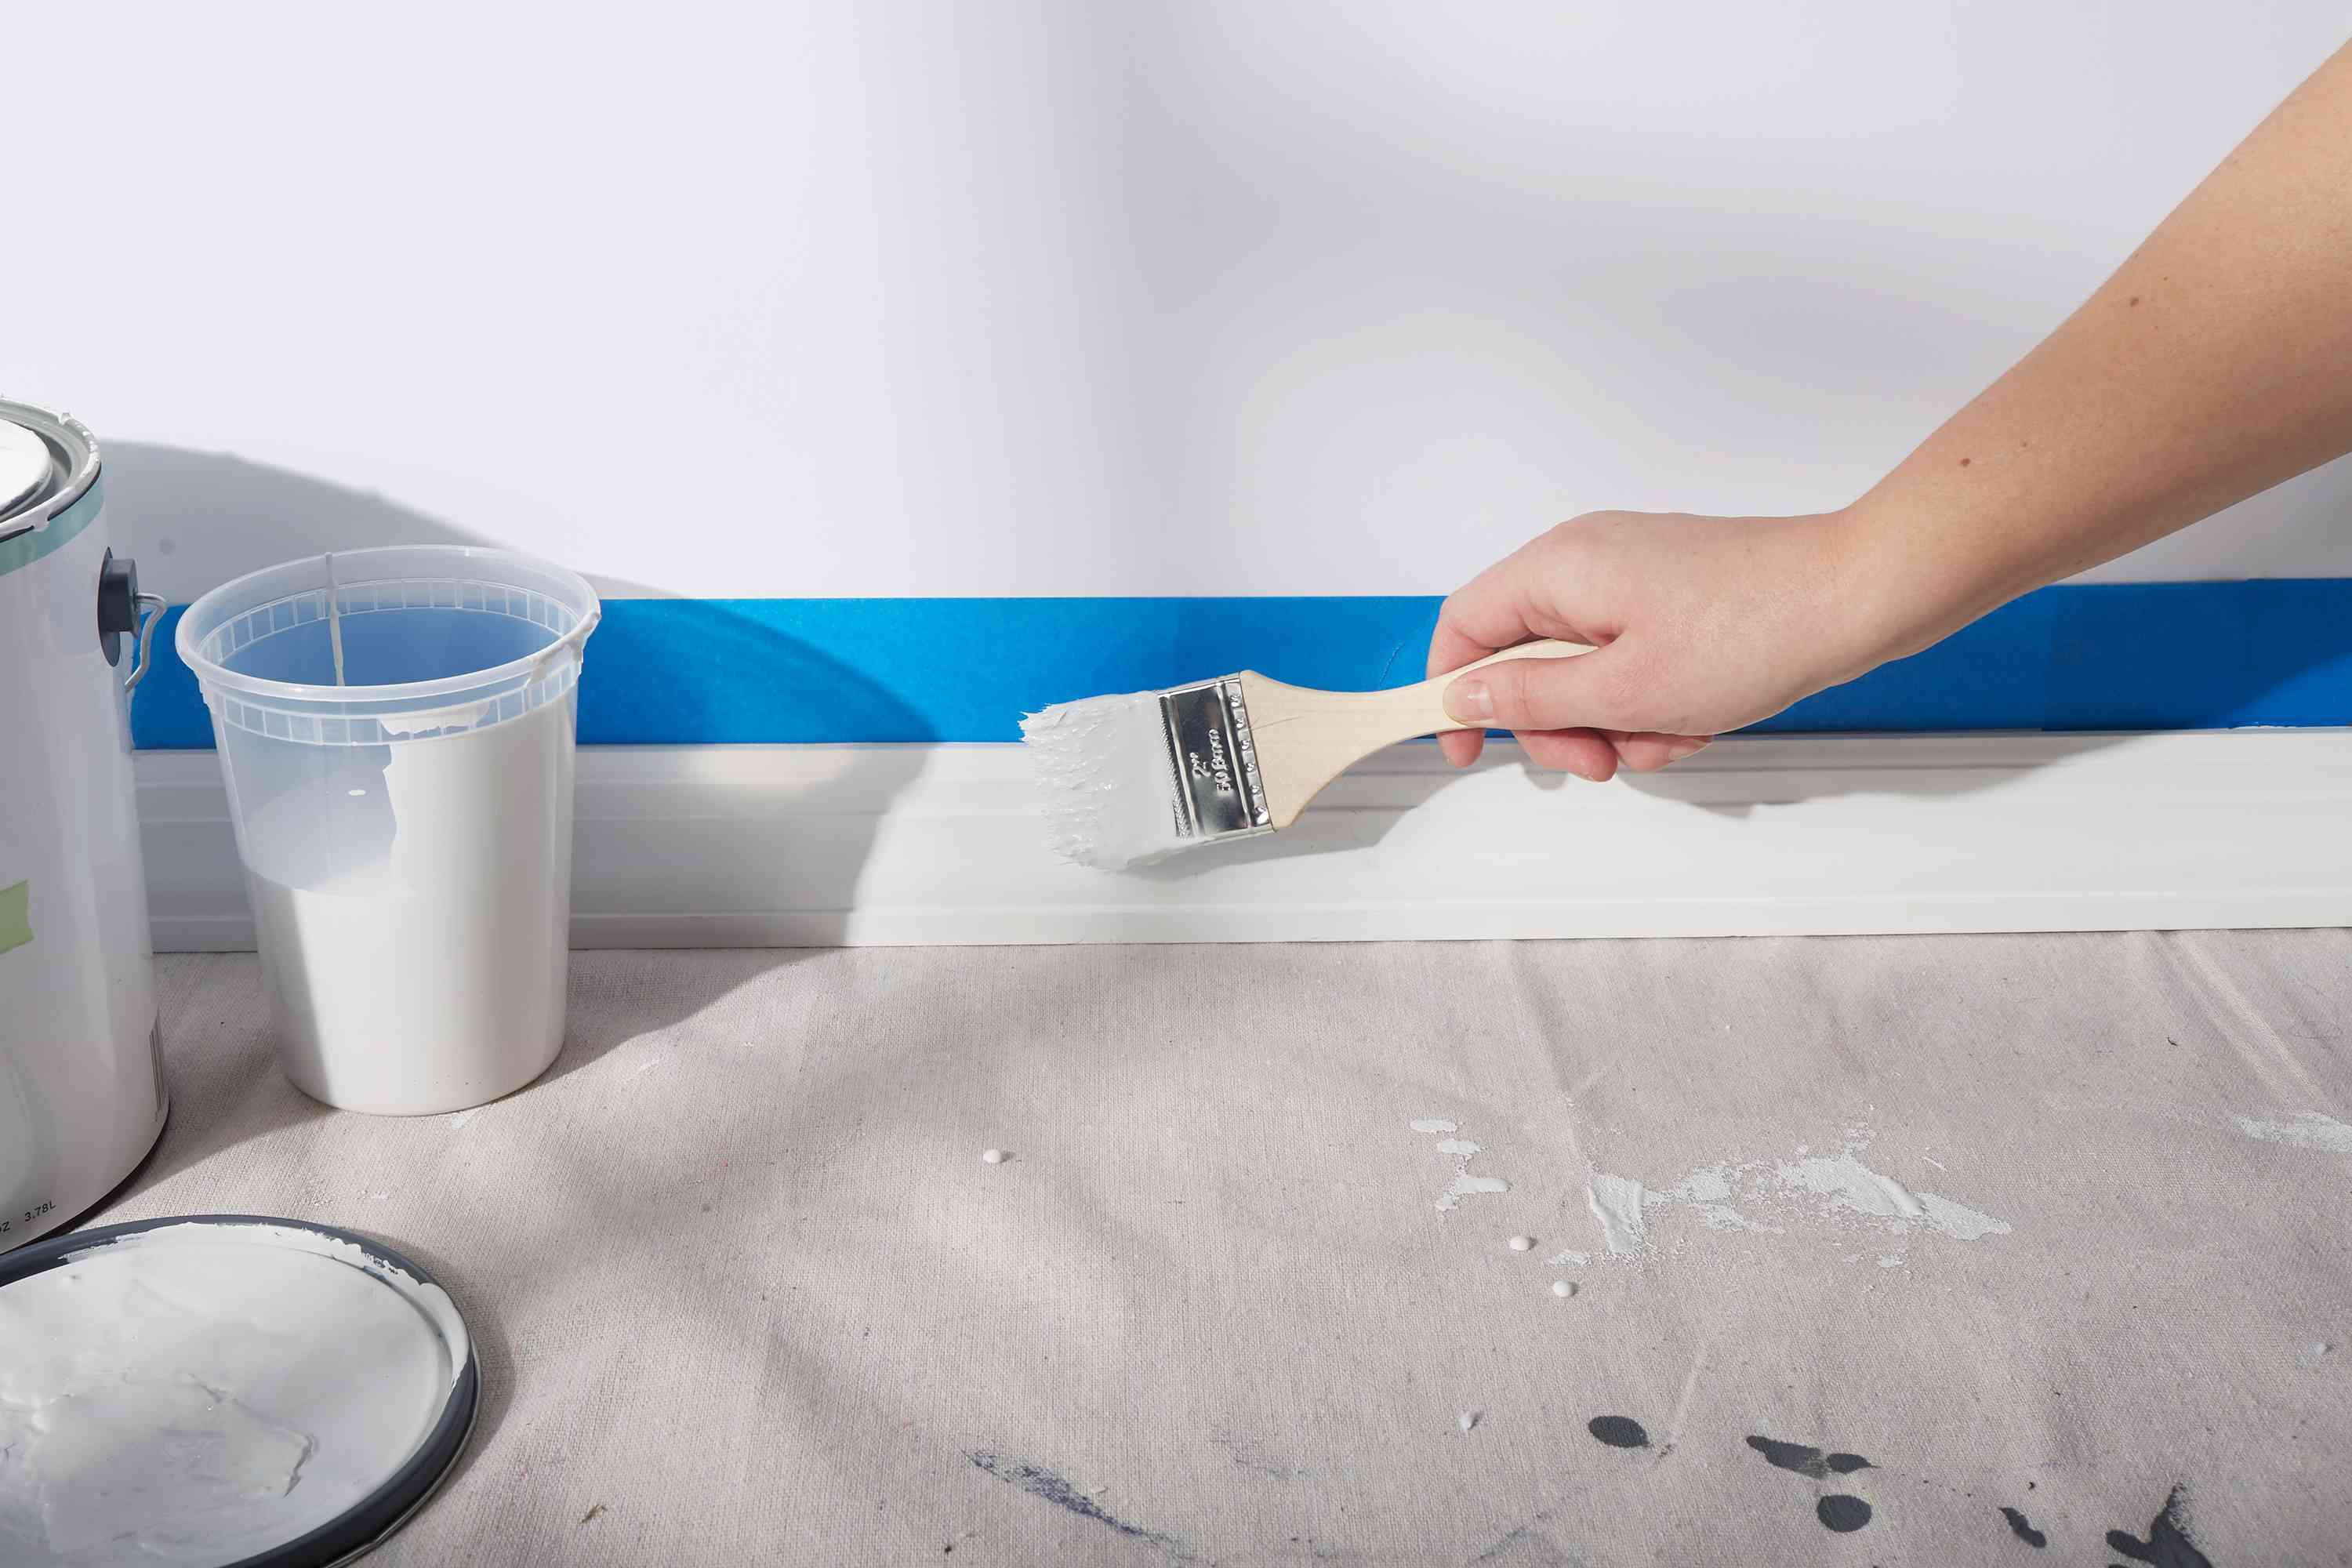
Once the caulk and trim are in place, it is time to apply a coating of semi-gloss paint on the baseboard. Use semi-gloss paint as it is more resistant to picking up dirt and is easier to clean.
Step 9:
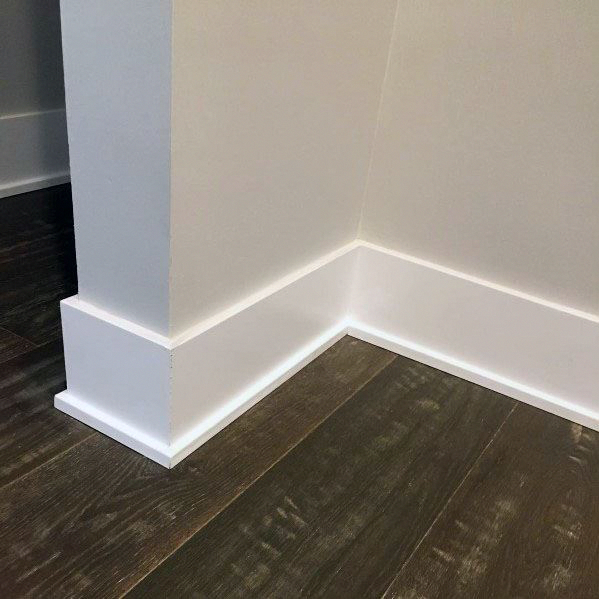
And finally, you have your brand new baseboard in place and installed perfectly to decorate your home. This will surely give a new touch to your interiors.
Estimating costs:
In the unfortunate event of property damage, if your baseboards need to be removed and replaced there are certain costs involved. As a policyholder, one should know that the cost of the entire operation which involves acquiring the right materials and tools as well as paying for the labor costs. This cost varies depending upon the quality of baseboard you had as well as the current market price of the materials involved. The overall expense can range from $330 to $350.
We hope this guide helps you understand the entire process of removing and replacing baseboards. Baseboards add a certain charm to the interiors of a home and they also offer additional strength to your walls.