

Replacing a 3-tab style shingle is a bit more complicated than what you might think. In order to replace one shingle, a lot of other rows have to be moved around and worked with in order to fit the new one. Let’s look at the materials that are required for the job:
Tools and materials required:
- Roofing hammer
- Prybar
- Roofing Cement
Step 1: Identifying the 3-tab shingle
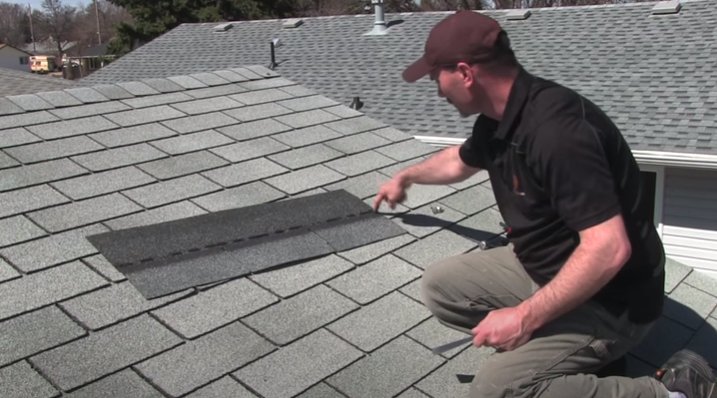
Step 2: Removing the two rows above it:
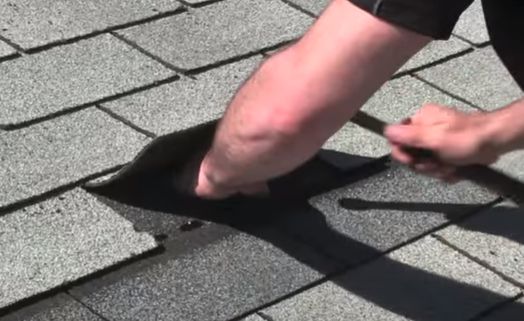
After identifying the shingle that needs to be replaced, the two rows above it have to be loosened in order to take out the shingle. Using a pry bar, start loosening the shingles one by one. Do this for the entire two rows.
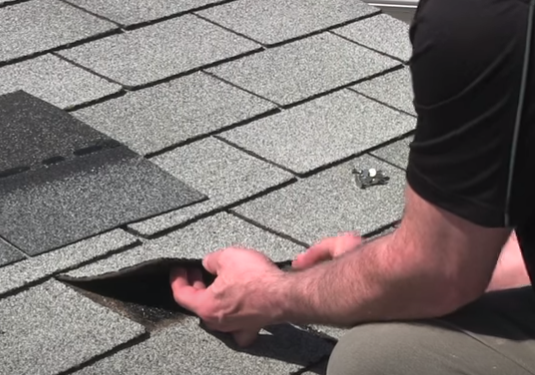
Step 3: Removing the nails

Once the shingles are loose, look for nails hammered into the roof deck. These nails need to be removed in order to slide the new shingle tab in place. Use a prybar and a hammer to remove the nails from their positions. Make sure you keep all the nails in a safe space.
Step 4: Removing the older shingle tab
Once all the nails are out of the equation, you can remove the old shingle tab by sliding it out of its place. The nails that were previously holding it back are now off so it will be easy to remove it from its position.
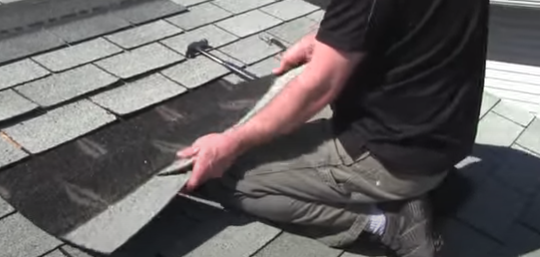
Step 5: Installing the new shingle
Slide the new shingle tab into position. If your new shingle tab is not the exact length of the older one, you might want to trim it using a bunch of scissors. Once it is the right length, just position it into the designated space.
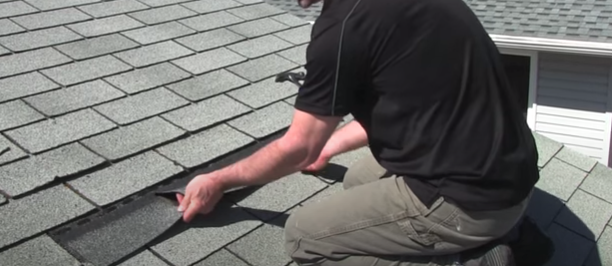
Step 6: Hammering the nails back
Once the new shingle tab is in position, reattach the nails back in their positions by hammering them down. Do this for all the rows above the newly installed shingle to firmly place it.
Step 7: Cementing the shingles
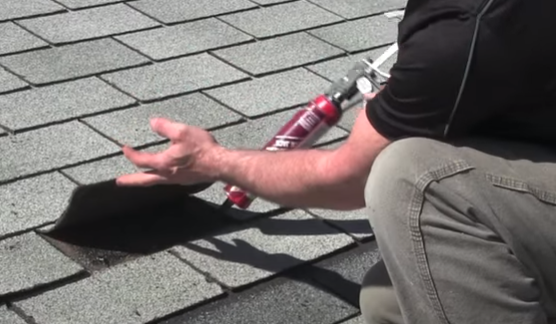
After all the nails are in place, use little dabs of roofing cement to paste the shingles on the rows back to the roof deck. Make sure not to apply a lot of roofing cement as it would make the surface uneven. Applying just a dab of cement and pressing the shingle back on the roof deck would do the trick.
Final look:
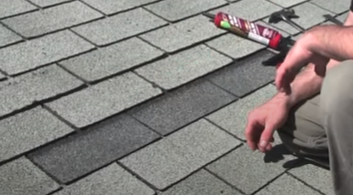
And finally, you have your new roof shingle in place.
Costs involved:
The costs for an entire roof replacement job will cost you anywhere between $5,348 to $10,710. In addition to that, hiring a roof inspector would cost another $100–$300 but it will ensure that the job is done well.
Roofing materials alone cost between $100 to $1,000 per square depending on the type of shingle you choose. Individually, the cost to tear off and replace an old shingle with a new one can run around $1 to $5 per-square-foot. Some contractors also tend to charge an hourly rate which can be $40 to $80 per hour.
These costs vary depending on which state you reside in as well as the material you are going to use for the job. Labor rates also vary across states. It’s important to understand and assess the cost of such a project before hiring a contractor. If you’re planning to do the replacement yourself, the total cost for an entire roof replacement project can come around $2000 to $4000.
We hope this step-by-step guide helps you understand the process of replacing shingle tabs on the roof as well as the costs involved in the process.