

Replacing a kitchen faucet is not a difficult task and is an inexpensive way to upgrade your kitchen space. Let’s have a look at the kind of tools required for the job:
Tools required:
- Basin wrench
- Small bucket
- Putty knife
Step 1: Checking underneath the sink
The first step of the process involves looking underneath the kitchen sink to check for the number of holes that are present. Replacing a single-hole faucet is possible even if there are multiple holes underneath by just installing a deck plate but installing a multi-hole faucet in a single hole is not possible.
Step 2: Removing the old faucet
Removing the old faucet requires just a basic wrench and a little help from a second person. Before removing the faucet, it is required to turn off all the valves underneath the sink and turn on the faucet to relieve pressure in the lines. Before taking it off, it is better to click a picture of the plumbing configuration to use as a reference later.
Step 3: Catching excessive water
While you are disconnecting the supply lines, water is prone to leak. In order to catch the leaking water, use a small bucket or a container for the job, and just place it beneath the supply lines.
Step 4: Removing the nuts and the old faucet
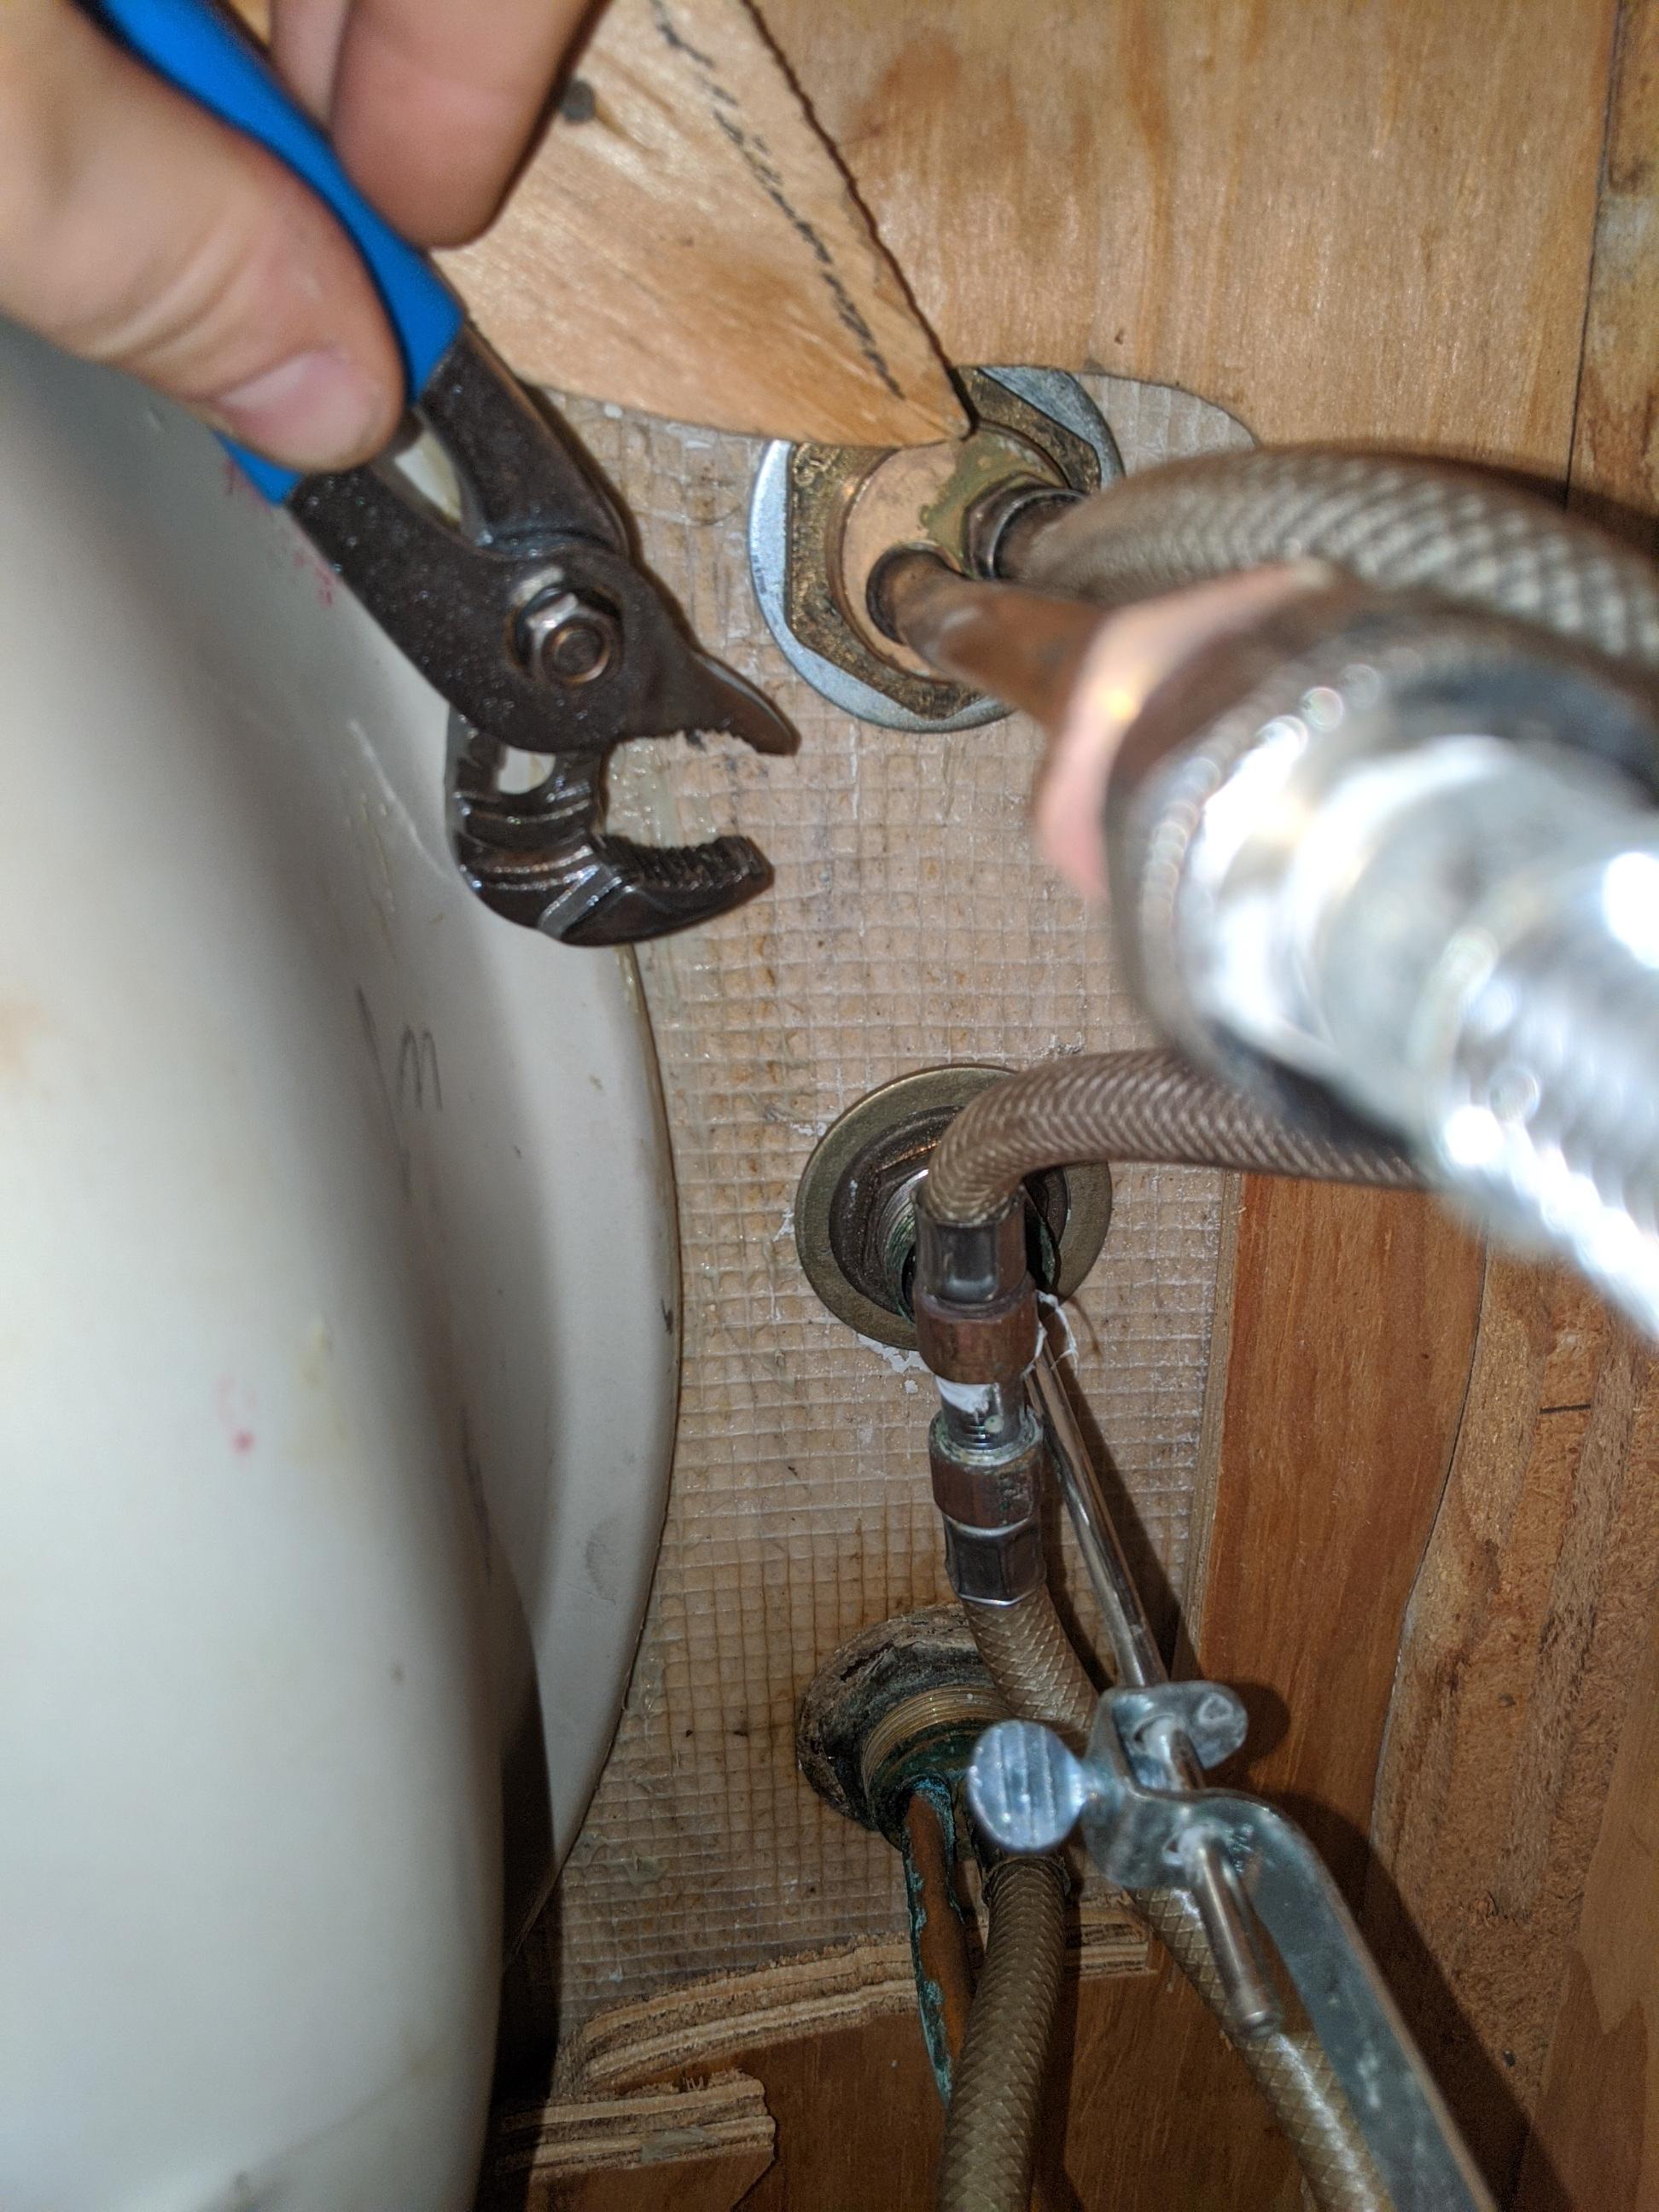
After the supply lines are disconnected, use a basin wrench to loosen the nuts that are holding the faucet. While you’re loosening the nuts, ask a second person to hold the faucet from above the sink. Once the nuts are loose, remove the faucet from the configuration.
Step 5: Installing the new faucet
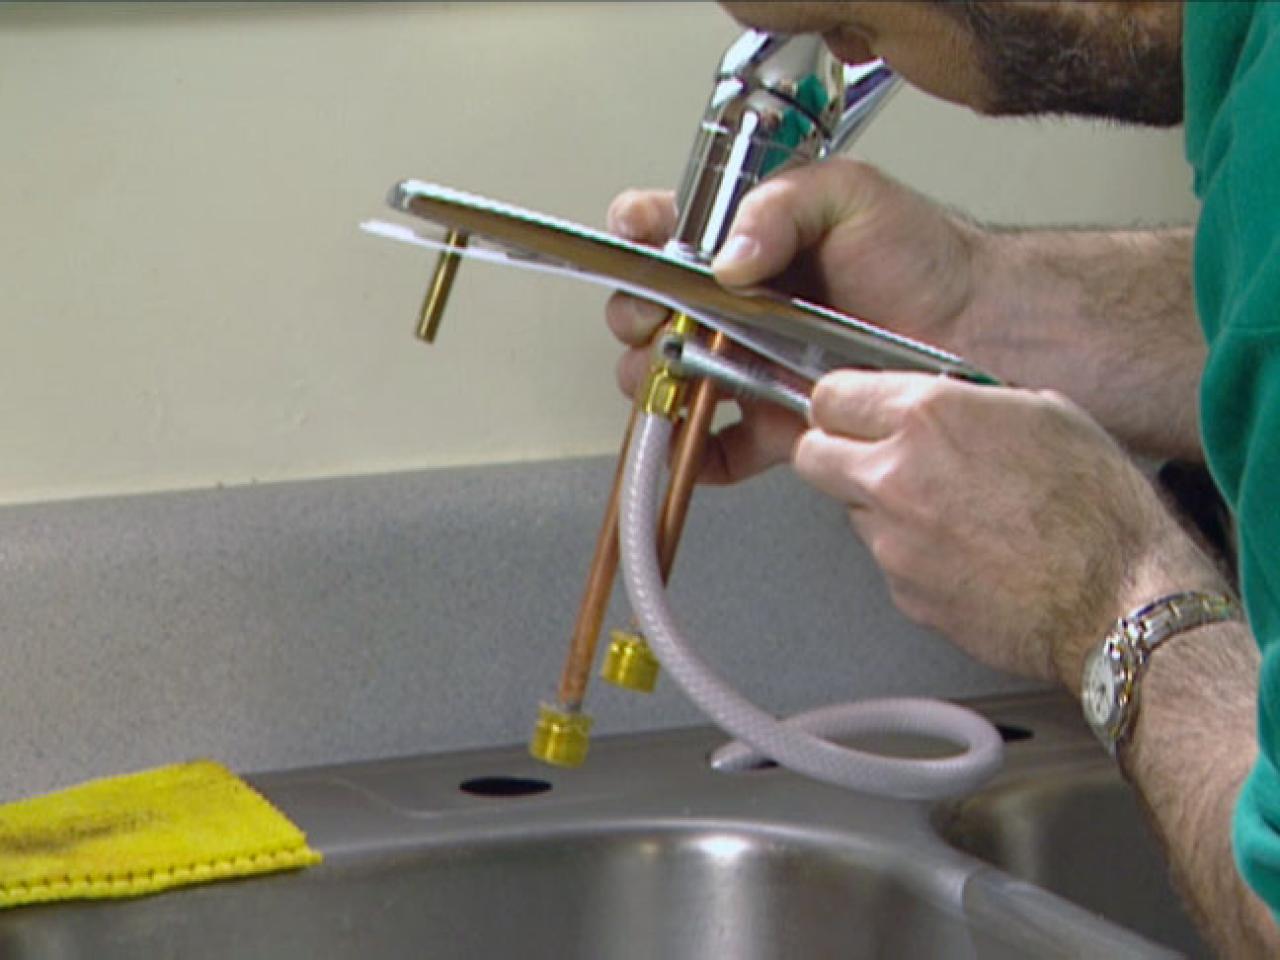
Once the old faucet is removed, it is time to install the new faucet. Pass the new faucet through the gasket and set it firmly on the top by using putty. A putty knife should be used to spread the putty evenly. Make sure that the faucet is firmly fed into the hole and is not loose.
Step 6: Installing washers and nuts
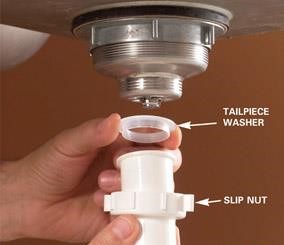
After the faucet is attached from the top, it is time to install washers and nuts from underneath the sink. Remove the excess putty, if any, from underneath the sink. Once the excess putty is removed, install the washer and the nut that goes along with it. Make sure to tighten the installations.
Step 7: Reconnecting water supply lines
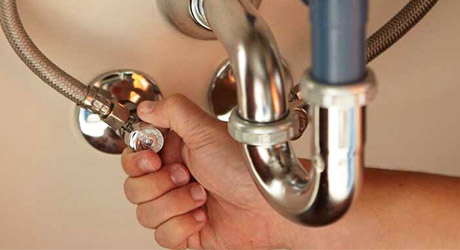
Once the washer and the nuts are in place, it is time to reconnect the water supply lines. Use a basin wrench for this process and make sure not to overtighten supply lines connections. Turn on the water and check for any leaks. Adjust the connection if necessary.
Step 8: Removing the aerator
Before running the faucet it is clear to check if the flow of water is uninterrupted and the lines are clear. Therefore, remove the aerator from the faucet before opening and turn on the water slowly. Let the water run aerator-free for some time and recheck for any leaks under the sink.
Step 9: Attaching the aerator
Once the lines have been checked and everything is clear and up to the mark, just attach the aerator back to the faucet and your new faucet is ready for use.
Costs involved:
The costs to replace a kitchen sink faucet can vary depending on the condition of your current faucet. A rusty faucet costs more to replace than a relatively cleaner one. Rusty faucets also require more manpower to replace since they almost always need to be sawed out. On average, a faucet replacement job sits around $212 to $558 which includes labor charges as well.